There are some things in life that are hard to stop. One of them is the hair growing on our heads. (Well, for some people it stops growing all on its own at a certain point, but that’s not the topic of our conversation today!)
Since cutting one’s hair is a regular necessity, there are lots of households – especially household mothers – that discover how much they can save by doing the haircut by themselves, instead of going to the hairdresser. It can also just be a plain fun DIY project. Here are some of the tools and tips that will get you started:
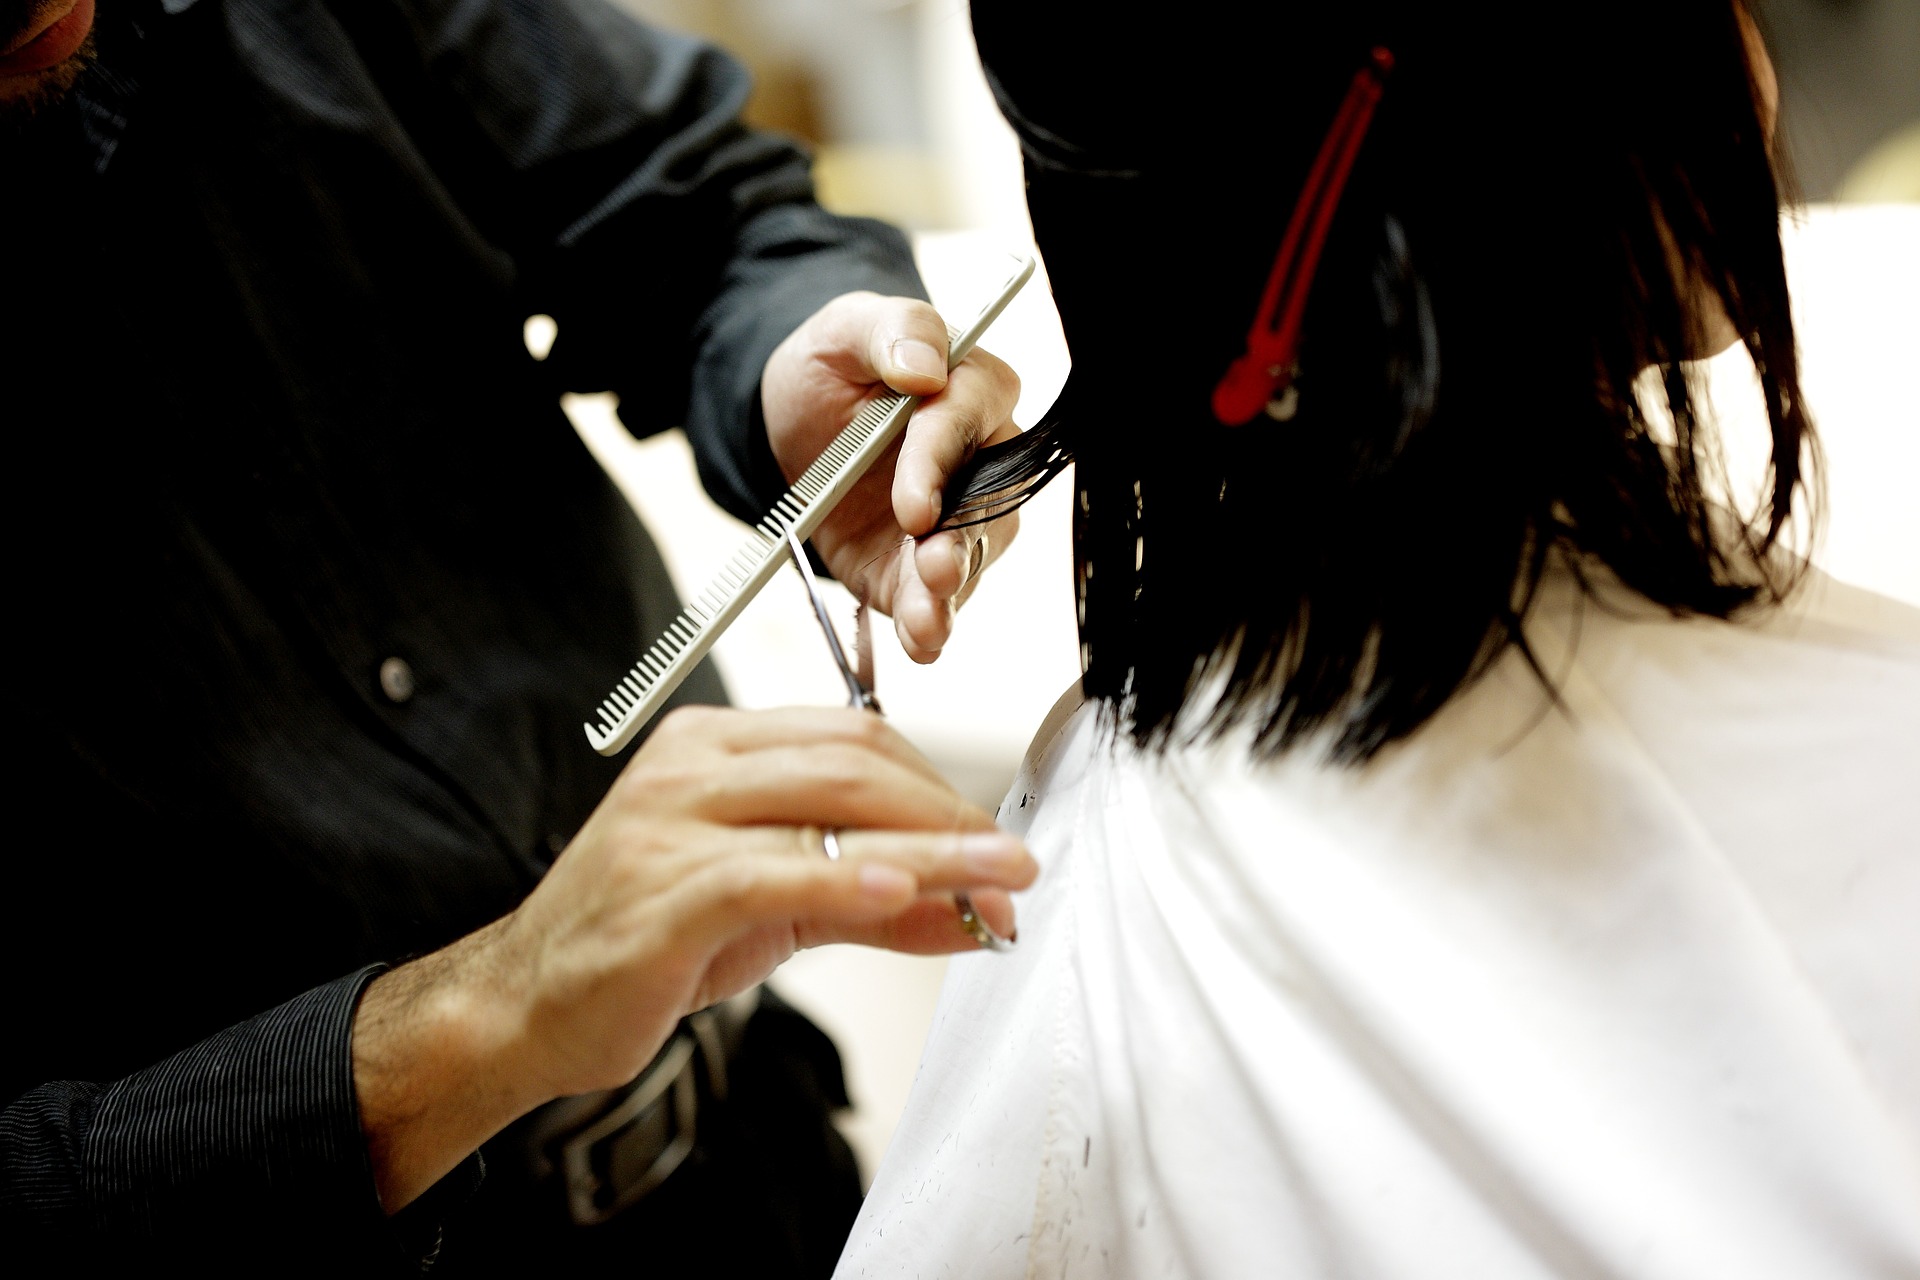
Gather your tools
Before cutting your own (or your child’s) hair, there are certain must-have tools that you should arm yourself with at first.
Hair trimmer: Hair trimmers are especially useful for finetuning men’s hairstyles, whether it be over the ears, in the neck, or perhaps for the entire head (if the last point is your case, then you can stop reading this article now – just shave it all away). If you wonder about what the best hairtrimmer is, the New York Times claim that Wahl Elite Pro Hairclipper is the best hairtrimmer for home use.
Scissors: According to Sakser.no, a Norwegian company specializing in hair scissors, or frisørsaks, as they call it, these tools are not like those you might have in your kitchen drawer. There’s a reason they’re called “hair scissors.” If you use normal scissors, you won’t get the same result, and will probably not be very happy about your DIY haircut. Make sure that the scissors are sharp, and that they cut smoothly. To help you pick the right ones, you can see some hair scissor recommendations from Maddie Ziegler’s hairstylist.
Comb: Using a comb is helpful for straightening out your hair, measuring its length, and intermittently seeing the results of what you’ve been doing up until a certain point. The general rule is that you should use combs with wider gaps for thick hair that tends to fluke up, and combs with more narrow gaps for thin hair that is easily “combable.”
Follow this process
If you’re performing a DIY haircut for the first time, here’s a simple step-by-step process you can follow:
- Use the comb to divide the hair into sections. You’re not supposed to cut it all at once, just like you wouldn’t eat an elephant at once. It is all more easily achieved in small bits and pieces.
- Cut one side first, and then the other. If you’re going to use a hairtrimmer, then start out with that before you bring in the scissors. Cut one side first, then measure it against the other to get the same length on both sides.
- Measure with your fingers. You’ve seen how the professionals do it, right? Slide a big chunk of hair between the pointy- and the index finger, then cut little snippets on top there. Start by cutting off small pieces – you won’t be able to redo it if you cut too much. This is probably the one technique that will make you feel most like a professional hairdresser!
- Make fine adjustments. After you’ve done the ground work on the top of your head and on the sides, make fine adjustments if there’s anything you see that isn’t quite right or that can be improved. Then top it off with some styling if you’re feeling like it!
We hope you found this DIY haircut guide useful. If anything was unclear, don’t hesitate reaching out to us with any questions!